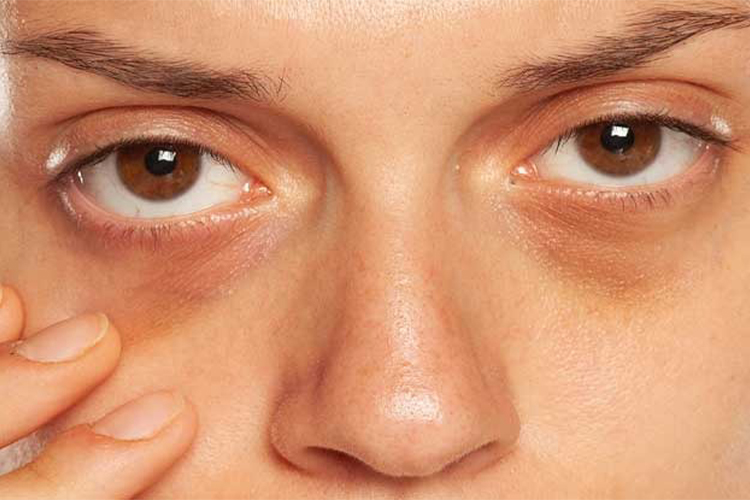
How to get rid of dark circles under the eyes
Dark circles under the eyes can be a frustrating and unsightly problem for many people. There are various causes of dark circles, including genetics, age, lack of sleep, allergies and dehydration. Fortunately, there are several ways to get rid of dark circles under the eyes.
Getting enough sleep:
Lack of sleep is a common cause of dark circles under the eyes. Getting 7-8 hours of sleep every night can help reduce the appearance of dark circles. If you have trouble sleeping, try developing a bedtime routine, limiting caffeine and alcohol before bed, and avoiding electronic devices before bed.
Hydrate
Dehydration can also lead to dark circles under the eyes. Drinking plenty of water throughout the day can help keep skin hydrated and reduce the appearance of dark circles.
Reduce salt intake:
Salt can cause water retention, which can lead to puffiness and dark circles under the eyes. Try reducing your salt consumption to reduce the appearance of dark circles.
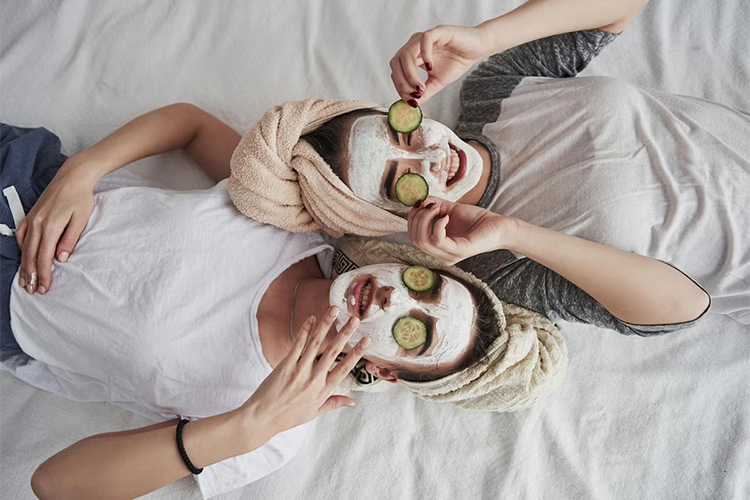
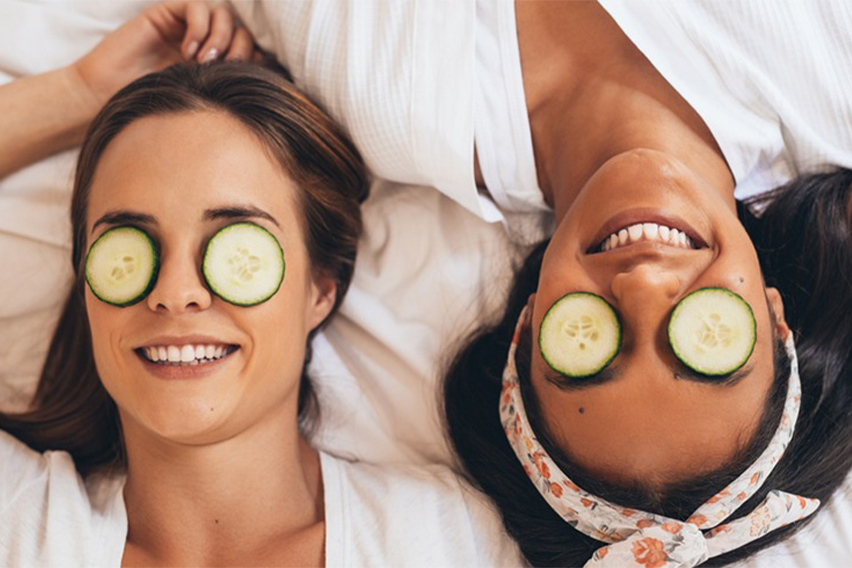
Use cold compresses:
Applying a cold compress to your eyes can help reduce puffiness and dark circles. You can use a cold washcloth, chilled cucumbers, or even a bag of frozen peas.
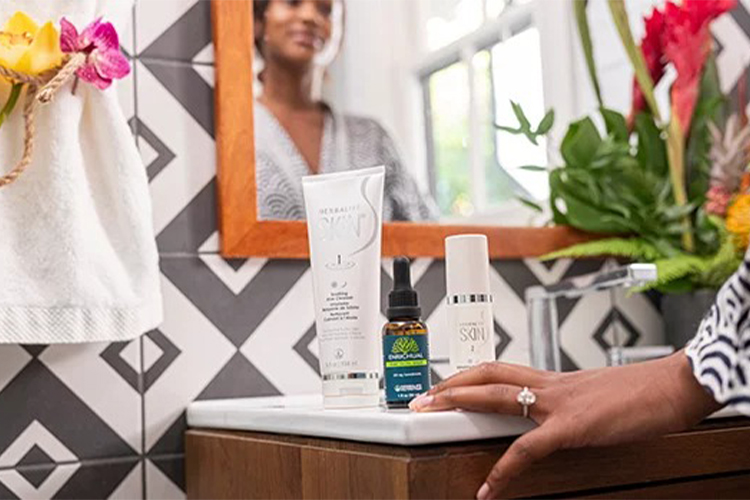
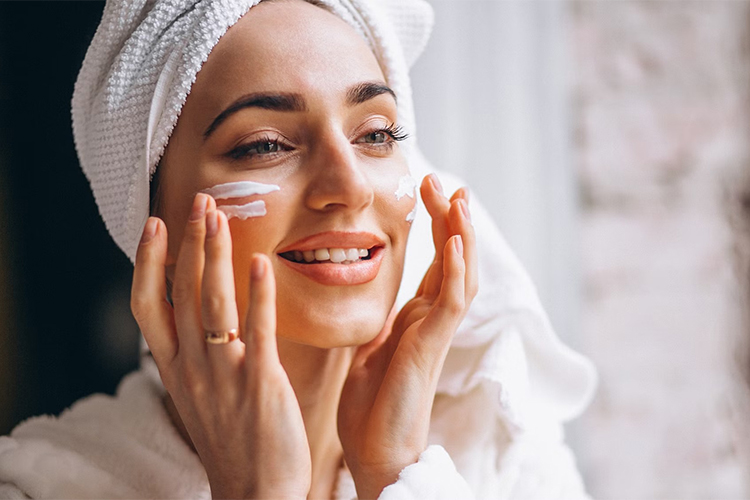
Use eye creams:
There are various eye creams that can help reduce the appearance of dark circles. Look for eye creams that contain ingredients like vitamin C, vitamin K, retinol, caffeine, and hyaluronic acid.
Use sunscreen:
Sun exposure can worsen dark circles by causing hyperpigmentation. Wearing sunscreen and avoiding direct sunlight can help prevent dark circles from getting worse.
Treat allergies:
Allergies can cause dark circles under the eyes. If you have allergies, try treating them with over-the-counter medications or allergy shots.
Consider cosmetic treatments:
If you have severe or persistent dark circles, cosmetic treatments such as laser therapy, chemical peels, or fillers may be an option. Consult a dermatologist to determine the best treatment option for you.
Use tea bags:
Place cold tea bags over your eyes for 10-15 minutes. The tannins in tea can help reduce swelling and darkness.
Massage the eye area:
Use your fingers to gently massage the eye area to increase circulation and reduce puffiness.
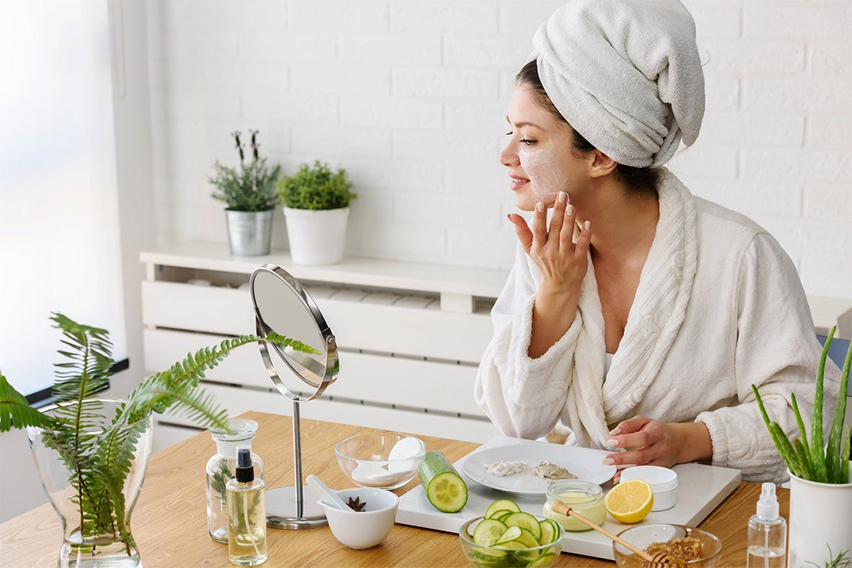
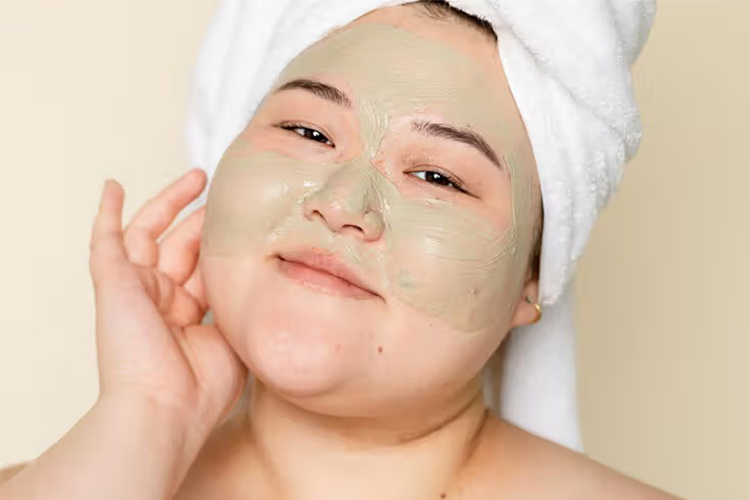
Use natural remedies:
There are several natural remedies that can help reduce the appearance of dark circles, including cucumber slices, potato slices, and almond oil. Apply these remedies to the eye area for 10-15 minutes.
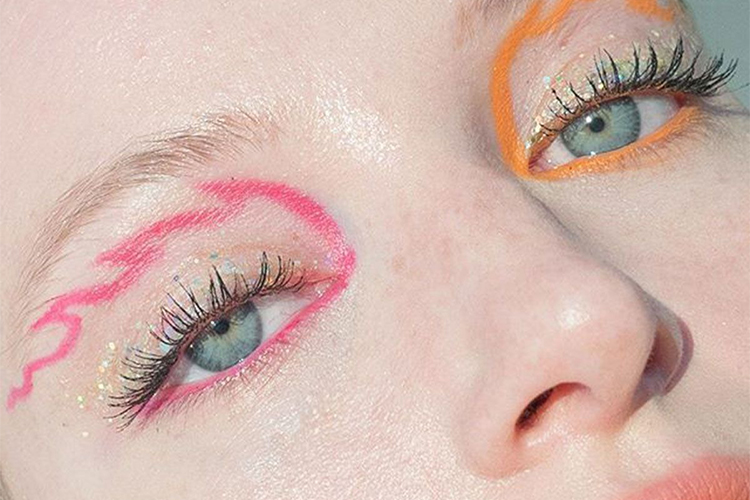
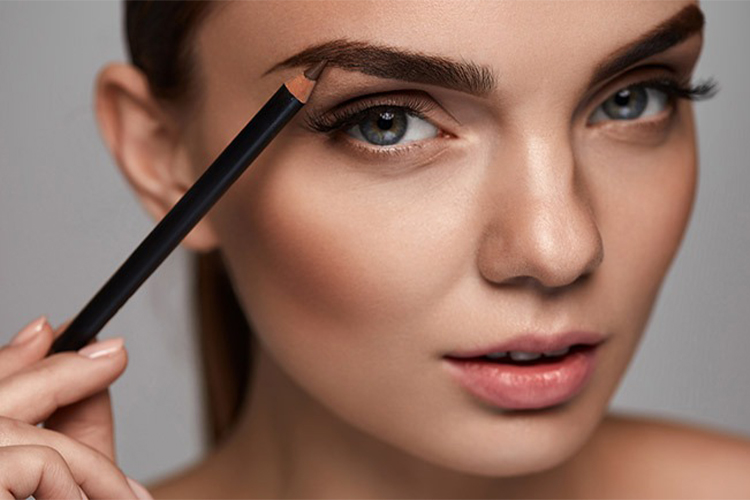
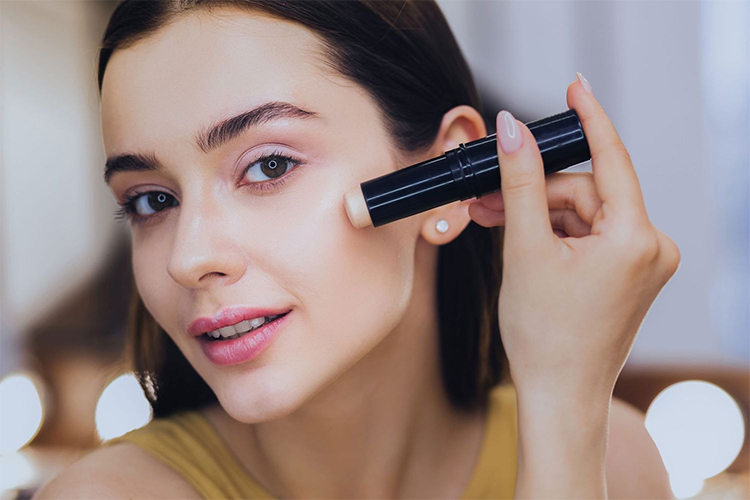
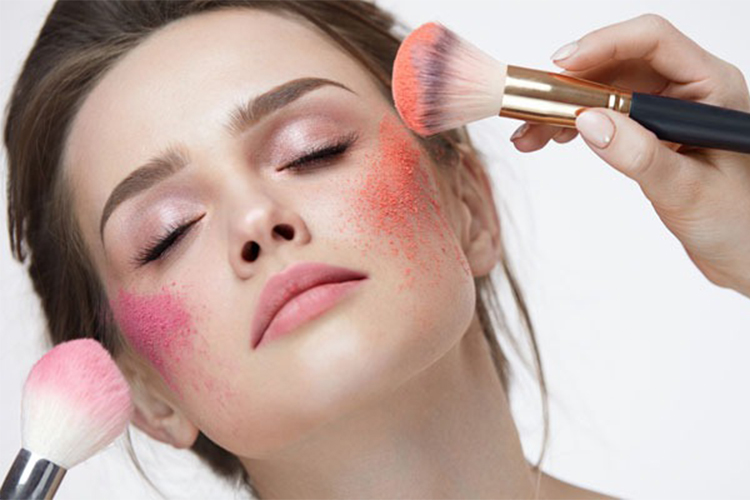
Use a color corrector:
If you have dark circles under your eyes that are difficult to cover with concealer, try using a color corrector. A peach or orange color corrector can help neutralize the blue or purple tones of dark circles.
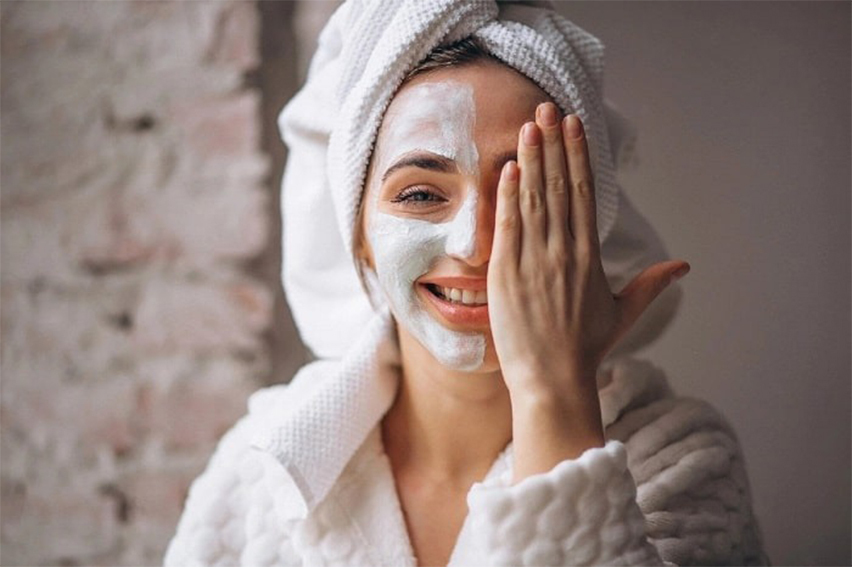
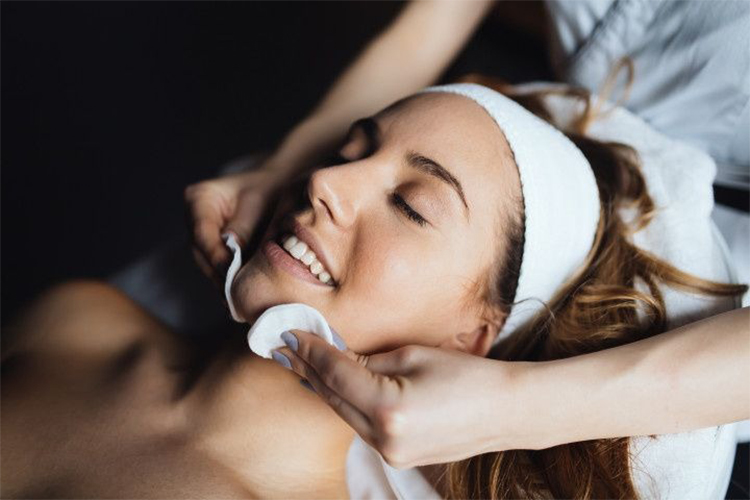
Use a gentle cleanser:
Harsh cleansers can strip the skin of its natural oils and cause irritation, which can worsen dark circles. Use a gentle cleanser to avoid irritation.
Do you do sports regulary:
Exercise can help improve blood circulation and reduce stress, which can help reduce the appearance of dark circles.
Eat healthy:
A healthy diet rich in antioxidants, vitamins, and minerals can help improve the overall health of your skin and reduce the appearance of dark circles.
Raise your head:
Sleeping with your head elevated can help reduce puffiness and fluid buildup under the eyes.
Use a humidifier:
Dry air can cause the skin to lose moisture, which can worsen the appearance of dark circles under the eyes. Using a humidifier can help keep the skin hydrated.
Stop smoking:
Smoking can damage the skin, including the delicate skin around the eyes. Quitting smoking can improve the overall health of your skin and reduce the appearance of dark circles.
Share